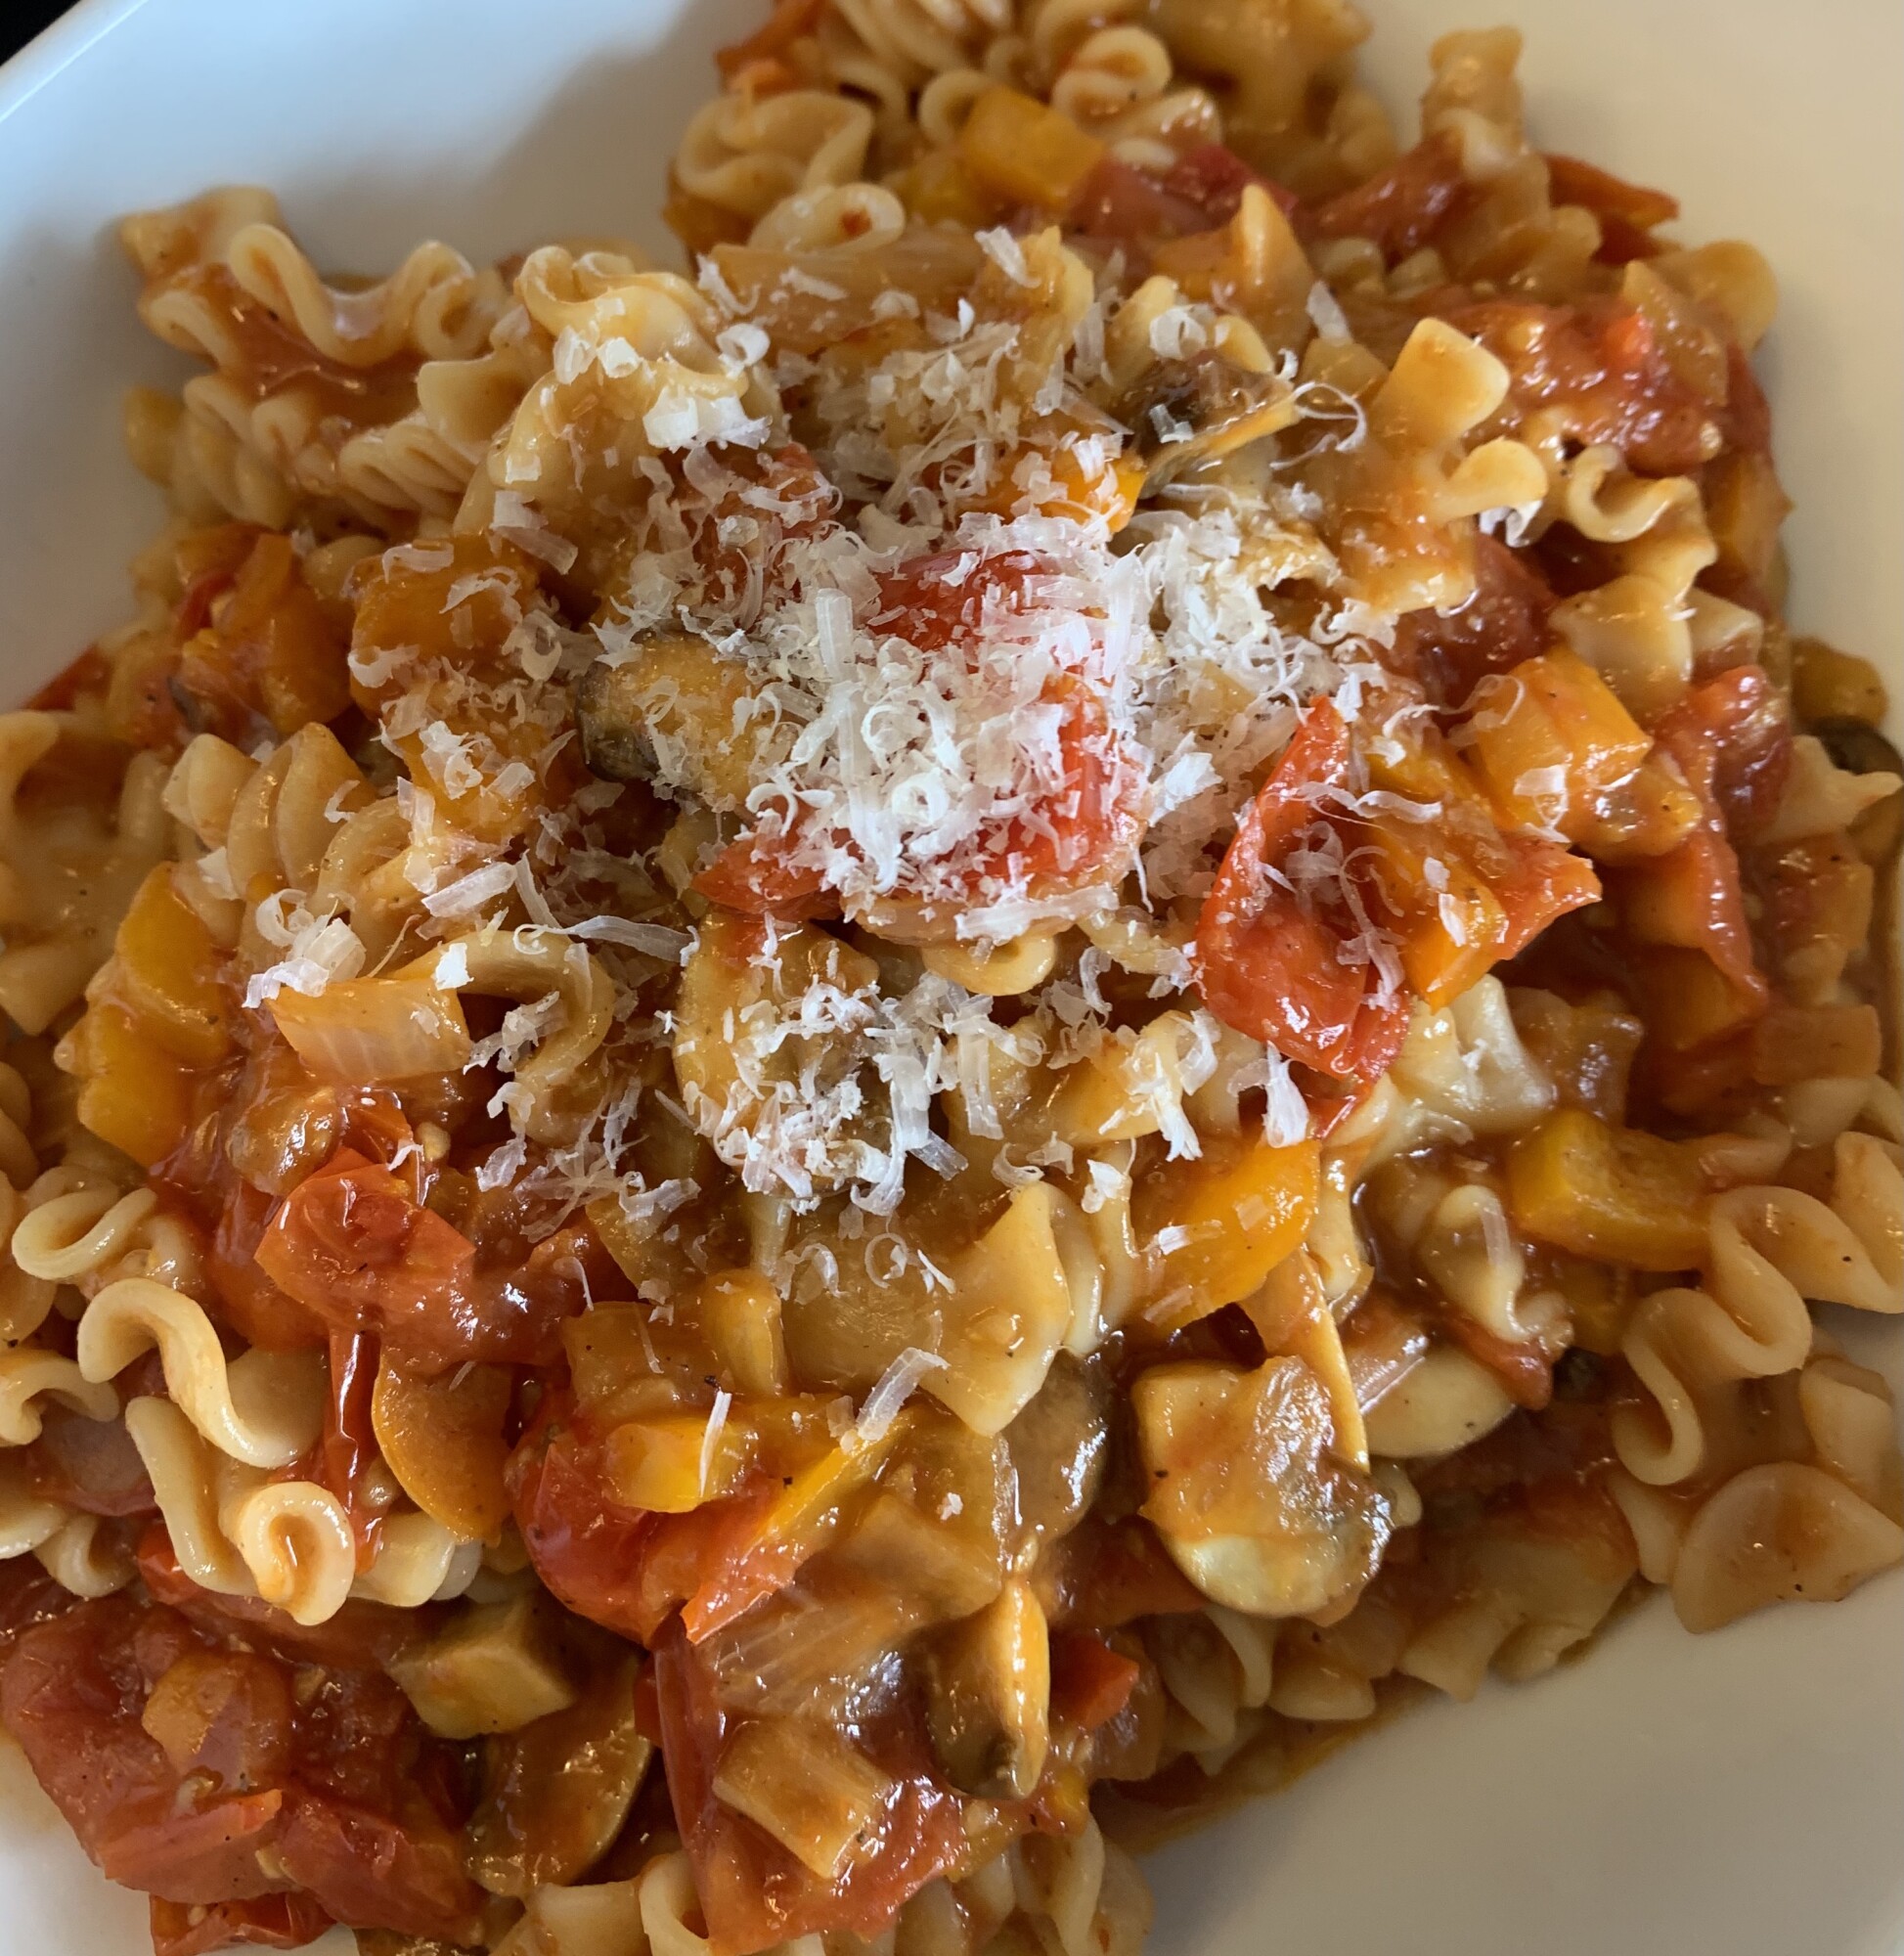
Fresh Tomato and Vegetable Pasta Sauce in Just 15 Minutes!


Cherry Tomato and Vegetable Pasta Sauce You Can Whip up in Flash 
I LOVE pasta! I joke that I should have been born Italian because I really haven’t met a pasta that I didn’t like....In my fantasy world, pasta would be considered one of the major food groups.

Because I work from home, I don’t often prepare my lunches ahead of time (although I really should and remind myself of this almost every day). When I’m working, and lunch time rolls around, I usually stand in my pantry, starving at this point, and pray that the lunch fairies whip me up a delicious and healthy meal! Well, of course that doesn’t happen, so sometimes I resort to cooking pasta and adding a jar of premade tomato sauce (confession time....I love Costco’s White Linen pasta sauce when I’m hangry and in a hurry to make a quick meal).

But, whenever possible this girl prefers to cook from scratch so I like to have quick recipes to make especially during those times when the hunger meter is tipping the breaking point.

I really love this recipe for a few reasons:
  • It’s super quick to put together.
  • It’s a great way to use up vegetables that you have most likely forgotten about in the back of your fridge and are turning kinda wrinkly (you know what I mean).....
  • You can tailor it however you want. If you don’t like mushrooms, don’t add them. If you like spinach, add spinach....you get the idea. Basically add whatever vegetables you have on hand.
  • The base is olive oil, sautéed onions, garlic and cherry tomatoes. Whatever else you decide to add is really up to you.
This, my friend, is not a fussy recipe. Make it your own and you’ll be happy because you know exactly what’s in it and it cooks up in the same amount of time it takes to boil and cook your pasta. Win-win! 👏🏼

This sauce recipe makes enough for two servings of pasta.

Ingredients
  • 2 cups cherry tomatoes washed and cut in half
  • 1 small onion diced
  • 1/2 cup mushrooms sliced
  • 1 red pepper diced
  • 1 tablespoon of olive oil
  • 1 clove of garlic crushed or finely chopped
  • Salt and pepper to taste
  • A few leaves of fresh basil, or a pinch of dried basil 🌿 
  • Optional - Crushed red pepper flakes (or if you’re Portuguese like me, I guarantee you have a jar of “pimenta” in your fridge.  Go ahead and add some of that to your sauce. I know you will because we put that in everything we make!)
Instructions
  • Begin boiling water for pasta and cook desired pasta according to directions on box.
  • Add olive oil to a large sauté pan, over medium heat.
  • Add onions, peppers and mushrooms and sauté for about 5 minutes until onions become translucent. 
  • Make sure to stir regularly to ensure the veggies aren’t burning.
  • Add garlic and sauté for 30 seconds.
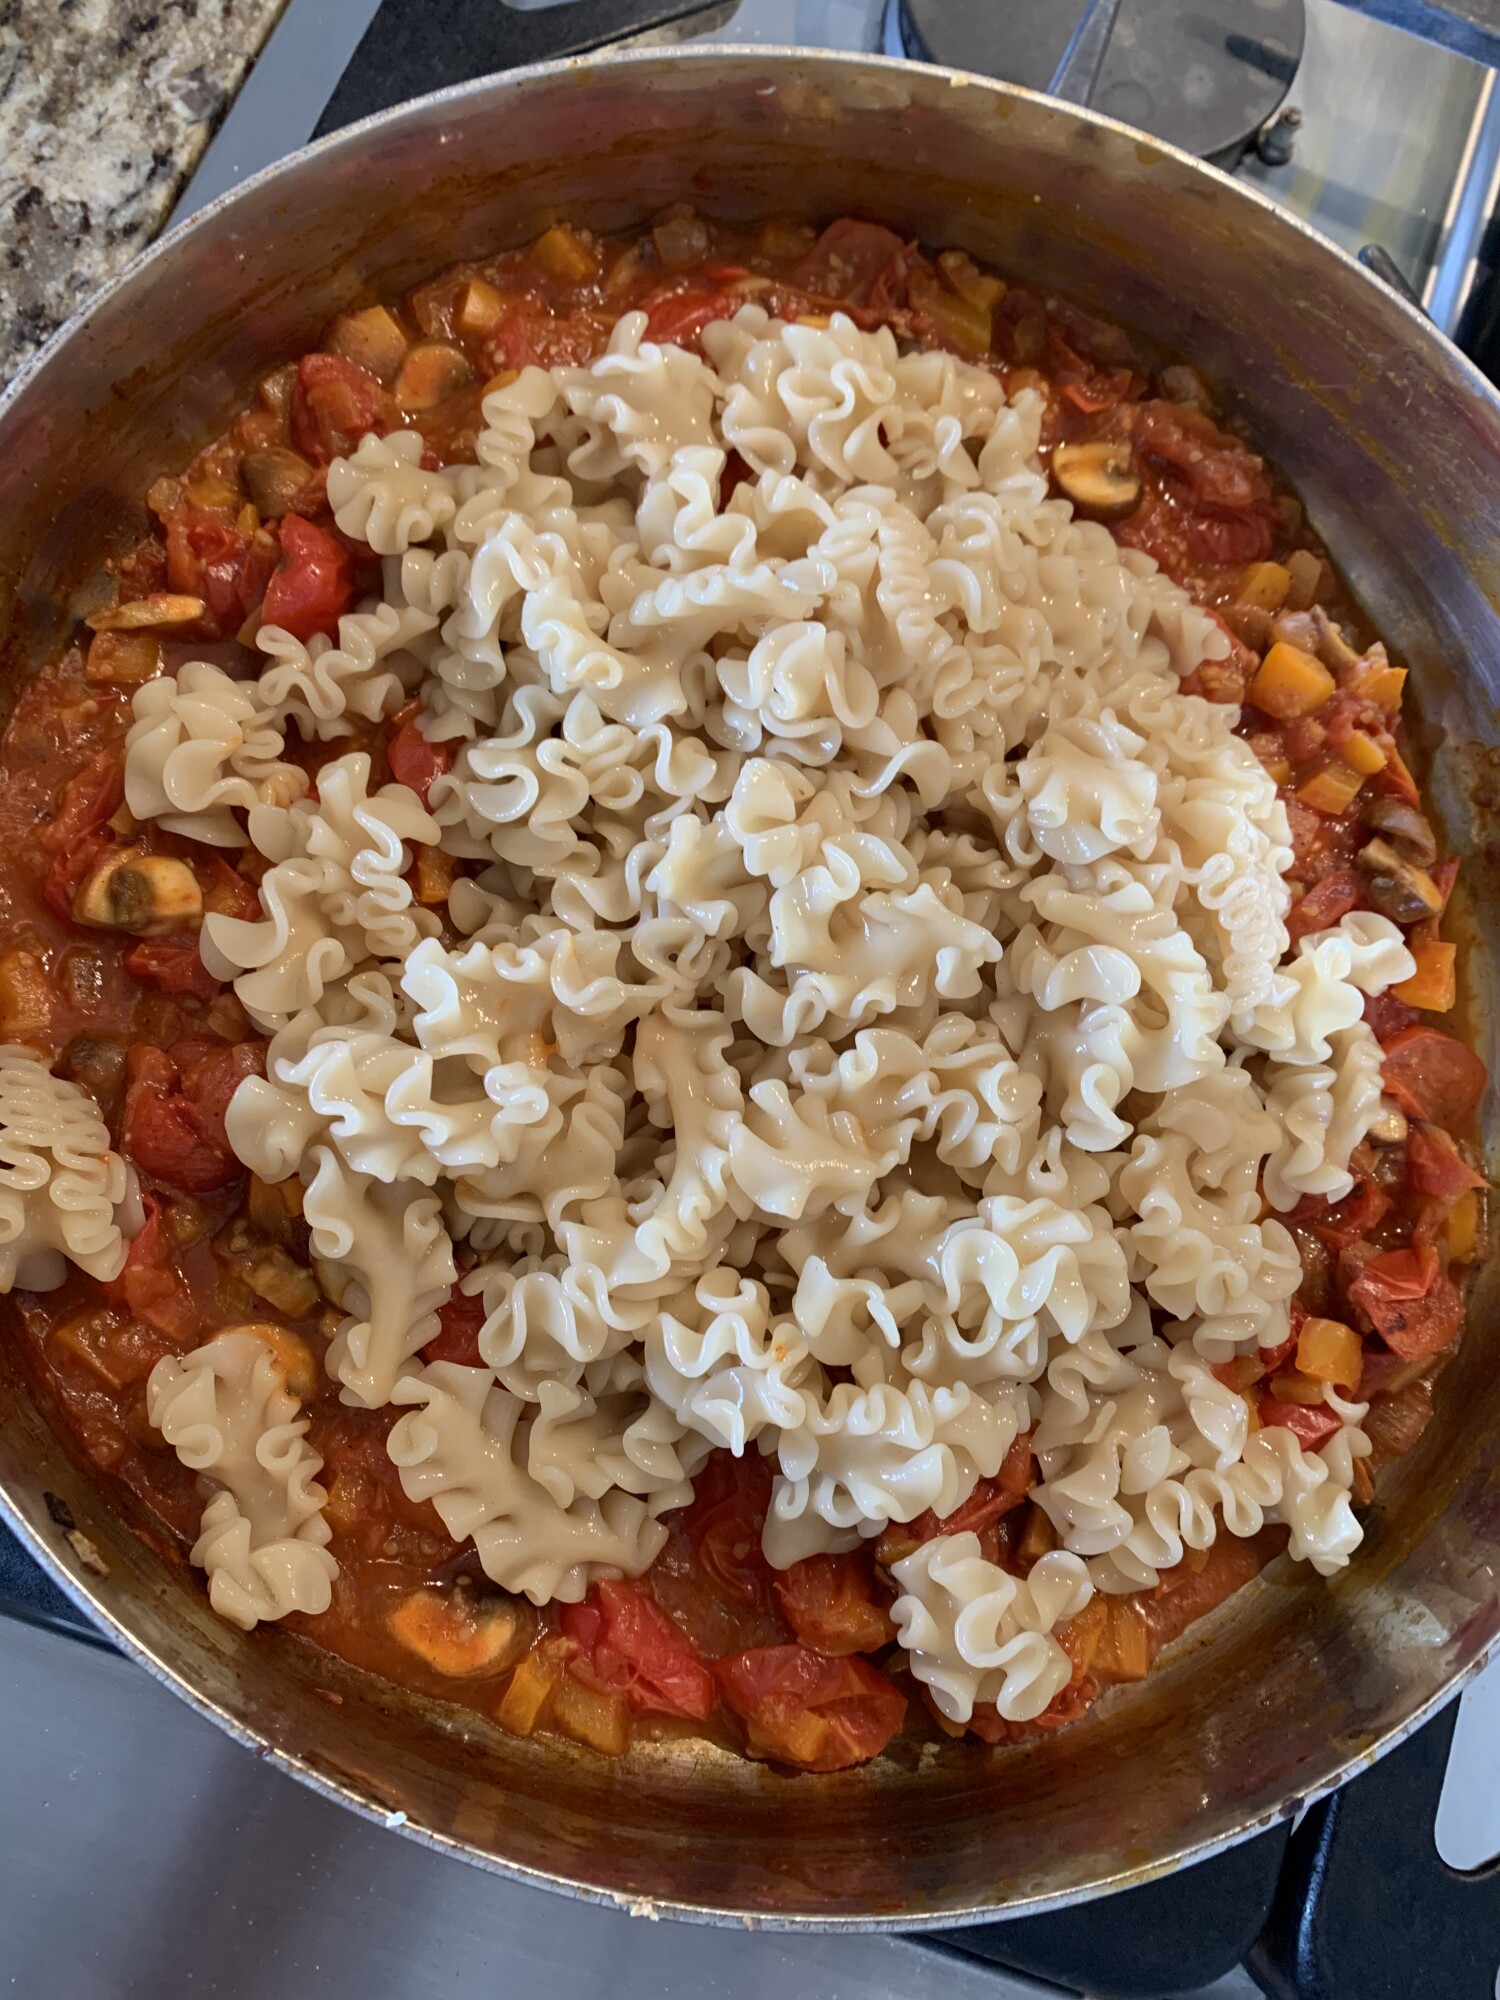
  • Add tomatoes, salt, pepper and crushed red pepper flakes or pimenta, if using, and stir to combine.
  • Continue cooking over medium heat, stirring occasionally, until tomatoes have broken down and sauce thickens.
  • When pasta is finished cooking, add to sauce and stir to combine.
  • Top with freshly grated Parmesan cheese and enjoy! 
  • Bon appetit!
This is a great option for quick lunch and dinner ideas because it’s loaded with vegetables! I like to use lentil pastas for my dishes because it’s gluten free and full of fibre and protein!

Next time you’re praying for your own lunch fairies to deliver you a meal, know that you can whip this one up in a flash!  Enjoy. 😋

xo, Bonnie

By the way...if you need a little relaxation in your life, click the link below to get access to my FREE Yoga Nidra Guided meditation for relaxation. 


The information presented here is for entertainment and informational purposes only.  The information in this post is subject to interpretation and is an expression of opinion.  It is not intended for, and does not replace professional, medical, legal, business, and/or health related opinions and advice. It is not a substitute for counselling or any other type of therapy, or medical advice from qualified professionals.  

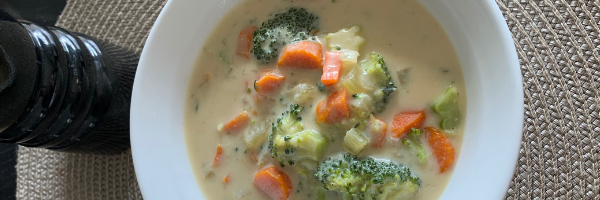
Cream of Broccoli Soup (Without the Cream)!


Dairy Free "Cream" of Broccoli Soup Recipe
There's no doubt about it, I LOVE SOUP!!!!  I love it so much, it was the first course at my wedding. I could eat it every-single-day! Nothing tops a warm bowl of soup at lunchtime for this girl. 

There are so many reasons for my love of soup. Perhaps it's because you make it once, and can eat it for a few days. You can load it with healthy ingredients and it's easy to heat up once it's made (that's my kinda lunch). Because of all the different recipes out there, trust me, you'll never get sick of soup!

One of my favourites is cream of broccoli soup. But, my tummy isn't a fan of dairy, so I make this pot of velvety goodness with cashews instead of cream and nutritional yeast instead of cheese. Even if you're not vegan, I promise, you won't miss the cream or the cheese in this version of broccoli soup and it takes under 30 minutes to make.


Ingredients
  • 1 tablespoon of coconut oil or olive oil
  • 1 large onion diced
  • 4 large carrots peeled and diced
  • 4 stalks of celery diced
  • 1 clove of garlic minced
  • 1 sprig of thyme (or 1/2 teaspoon dried thyme)
  • 6 cups of vegetable stock (store bought or homemade)
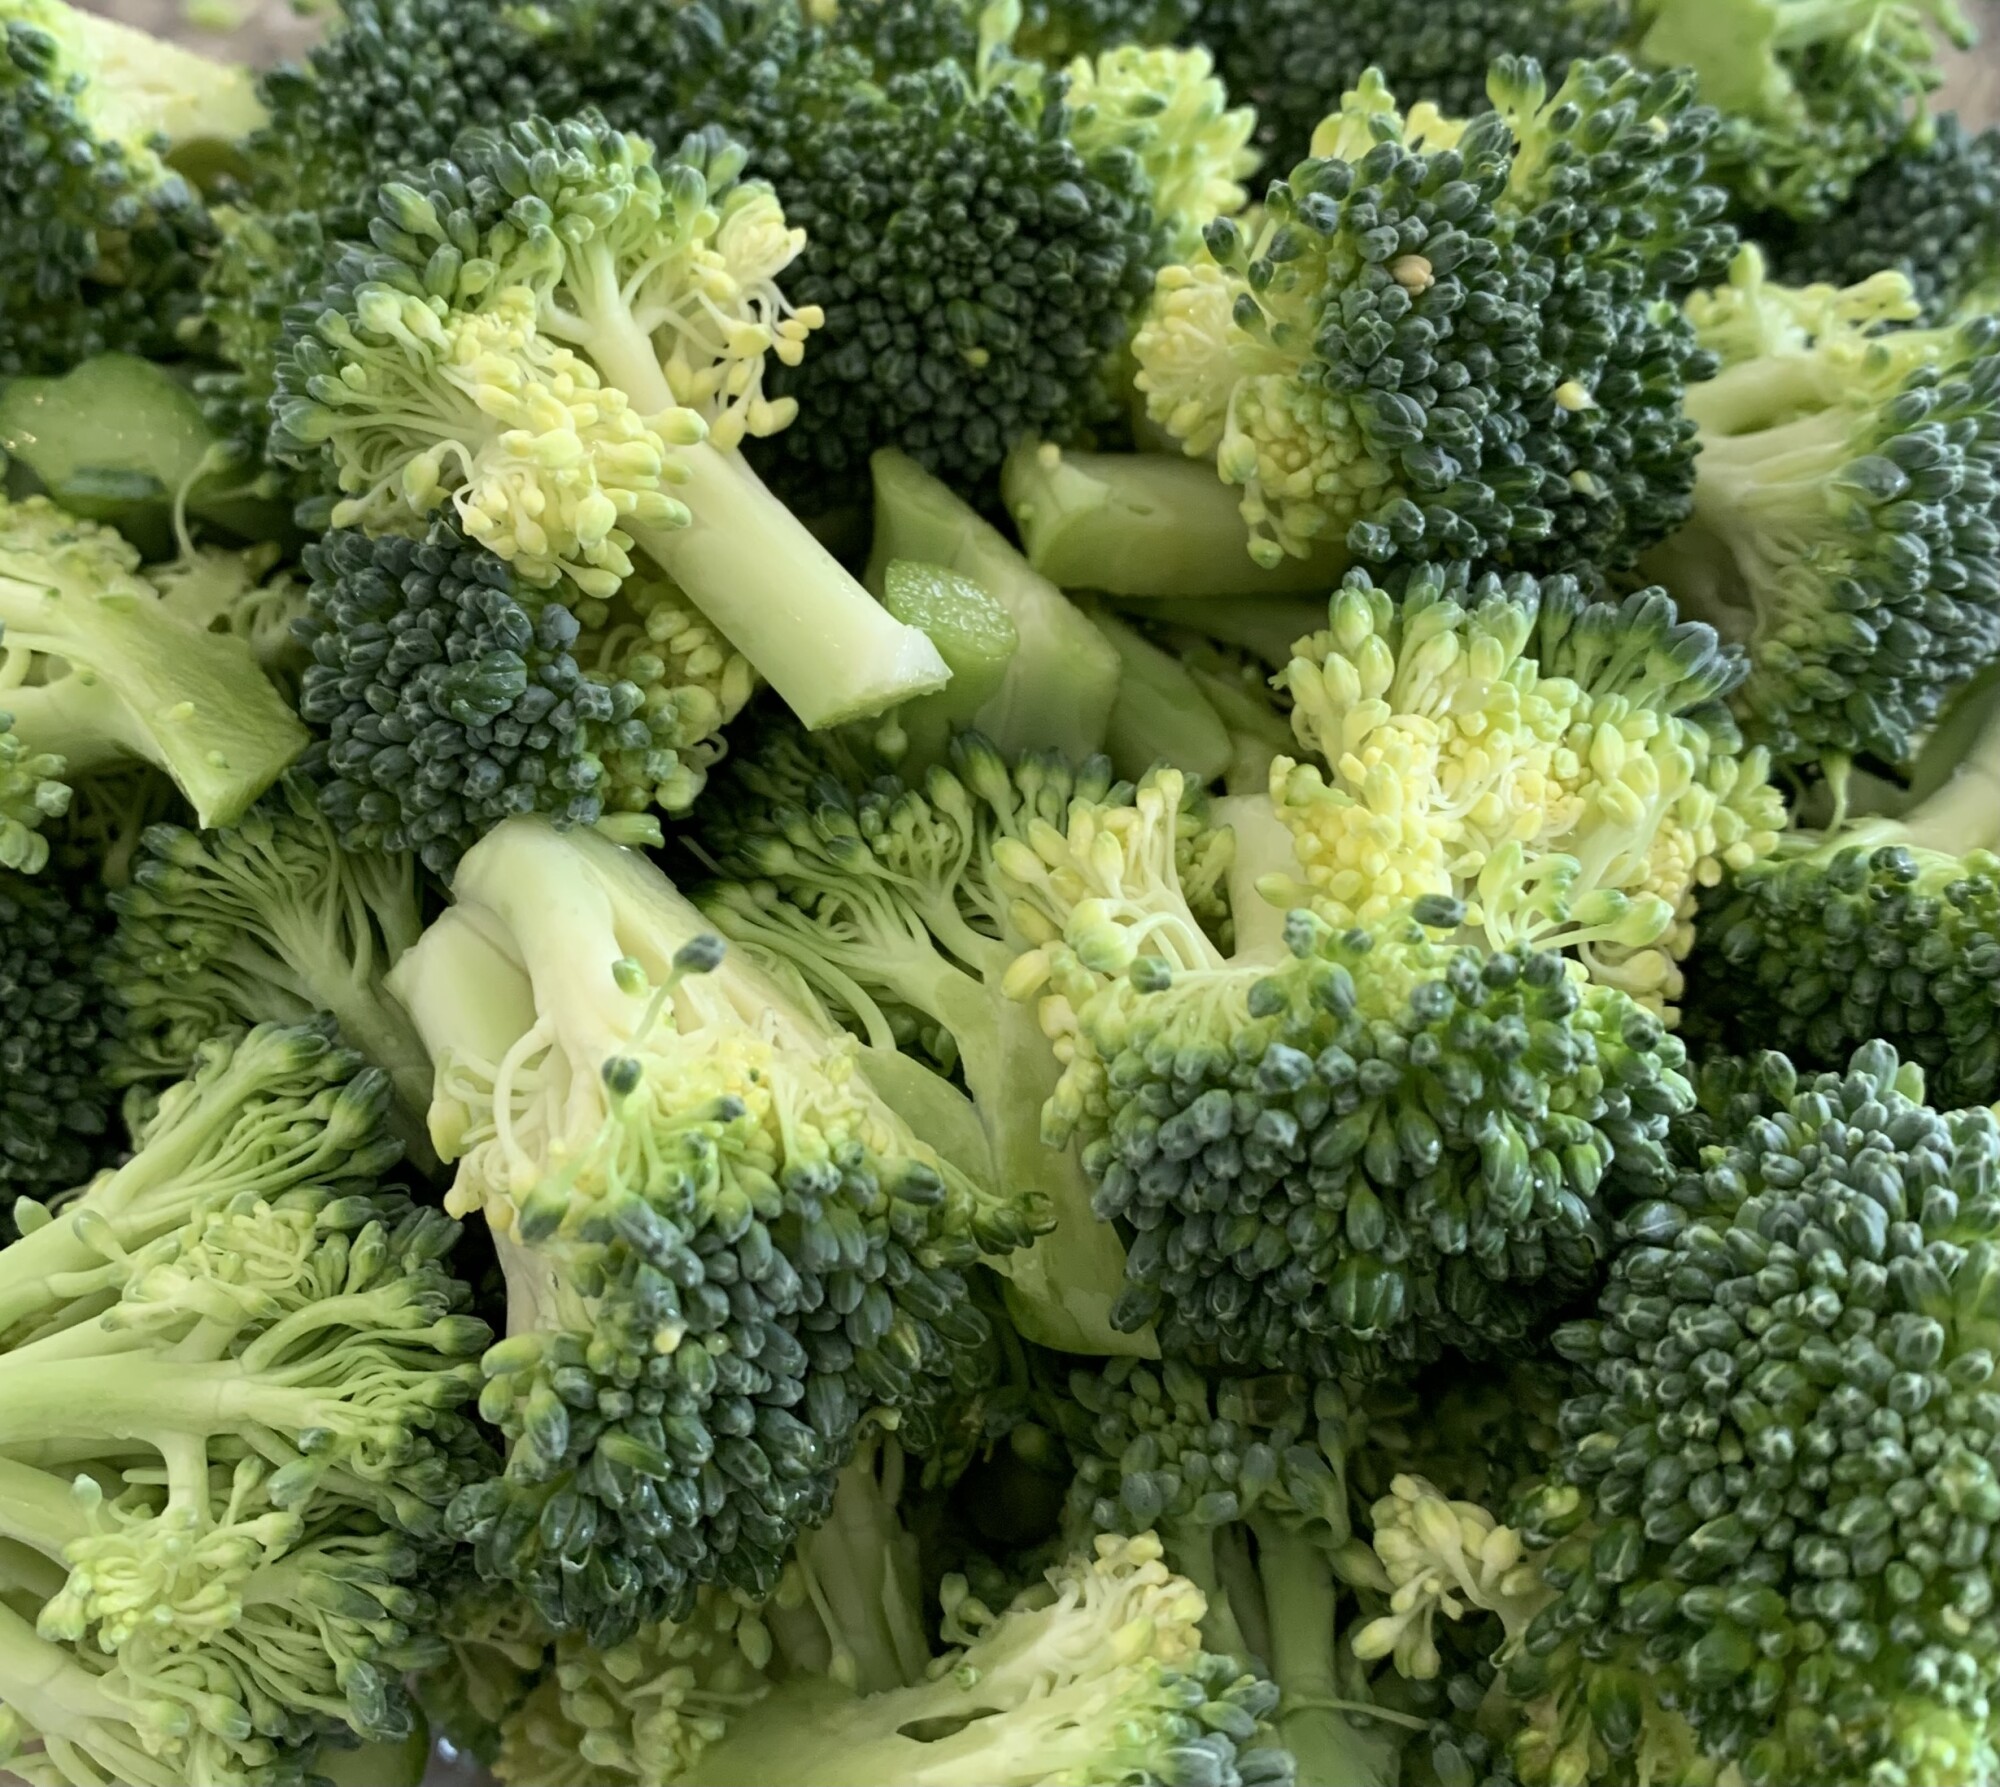
  • 4-5 cups of broccoli florets chopped into bite sized pieces (about one head/bunch of broccoli you would typically buy at the grocery store)
  • 2 tablespoons of nutritional yeast (this makes up for the cheesy flavour in most broccoli soups)
  • 1 cup of raw cashews soaked in two cups of water for three hours (or I cup of cashews boiled with two cups of water for 5 minutes)
  • Salt and pepper to taste

INSTRUCTIONS
  • Over medium heat, add coconut oil to a large pot or dutch oven
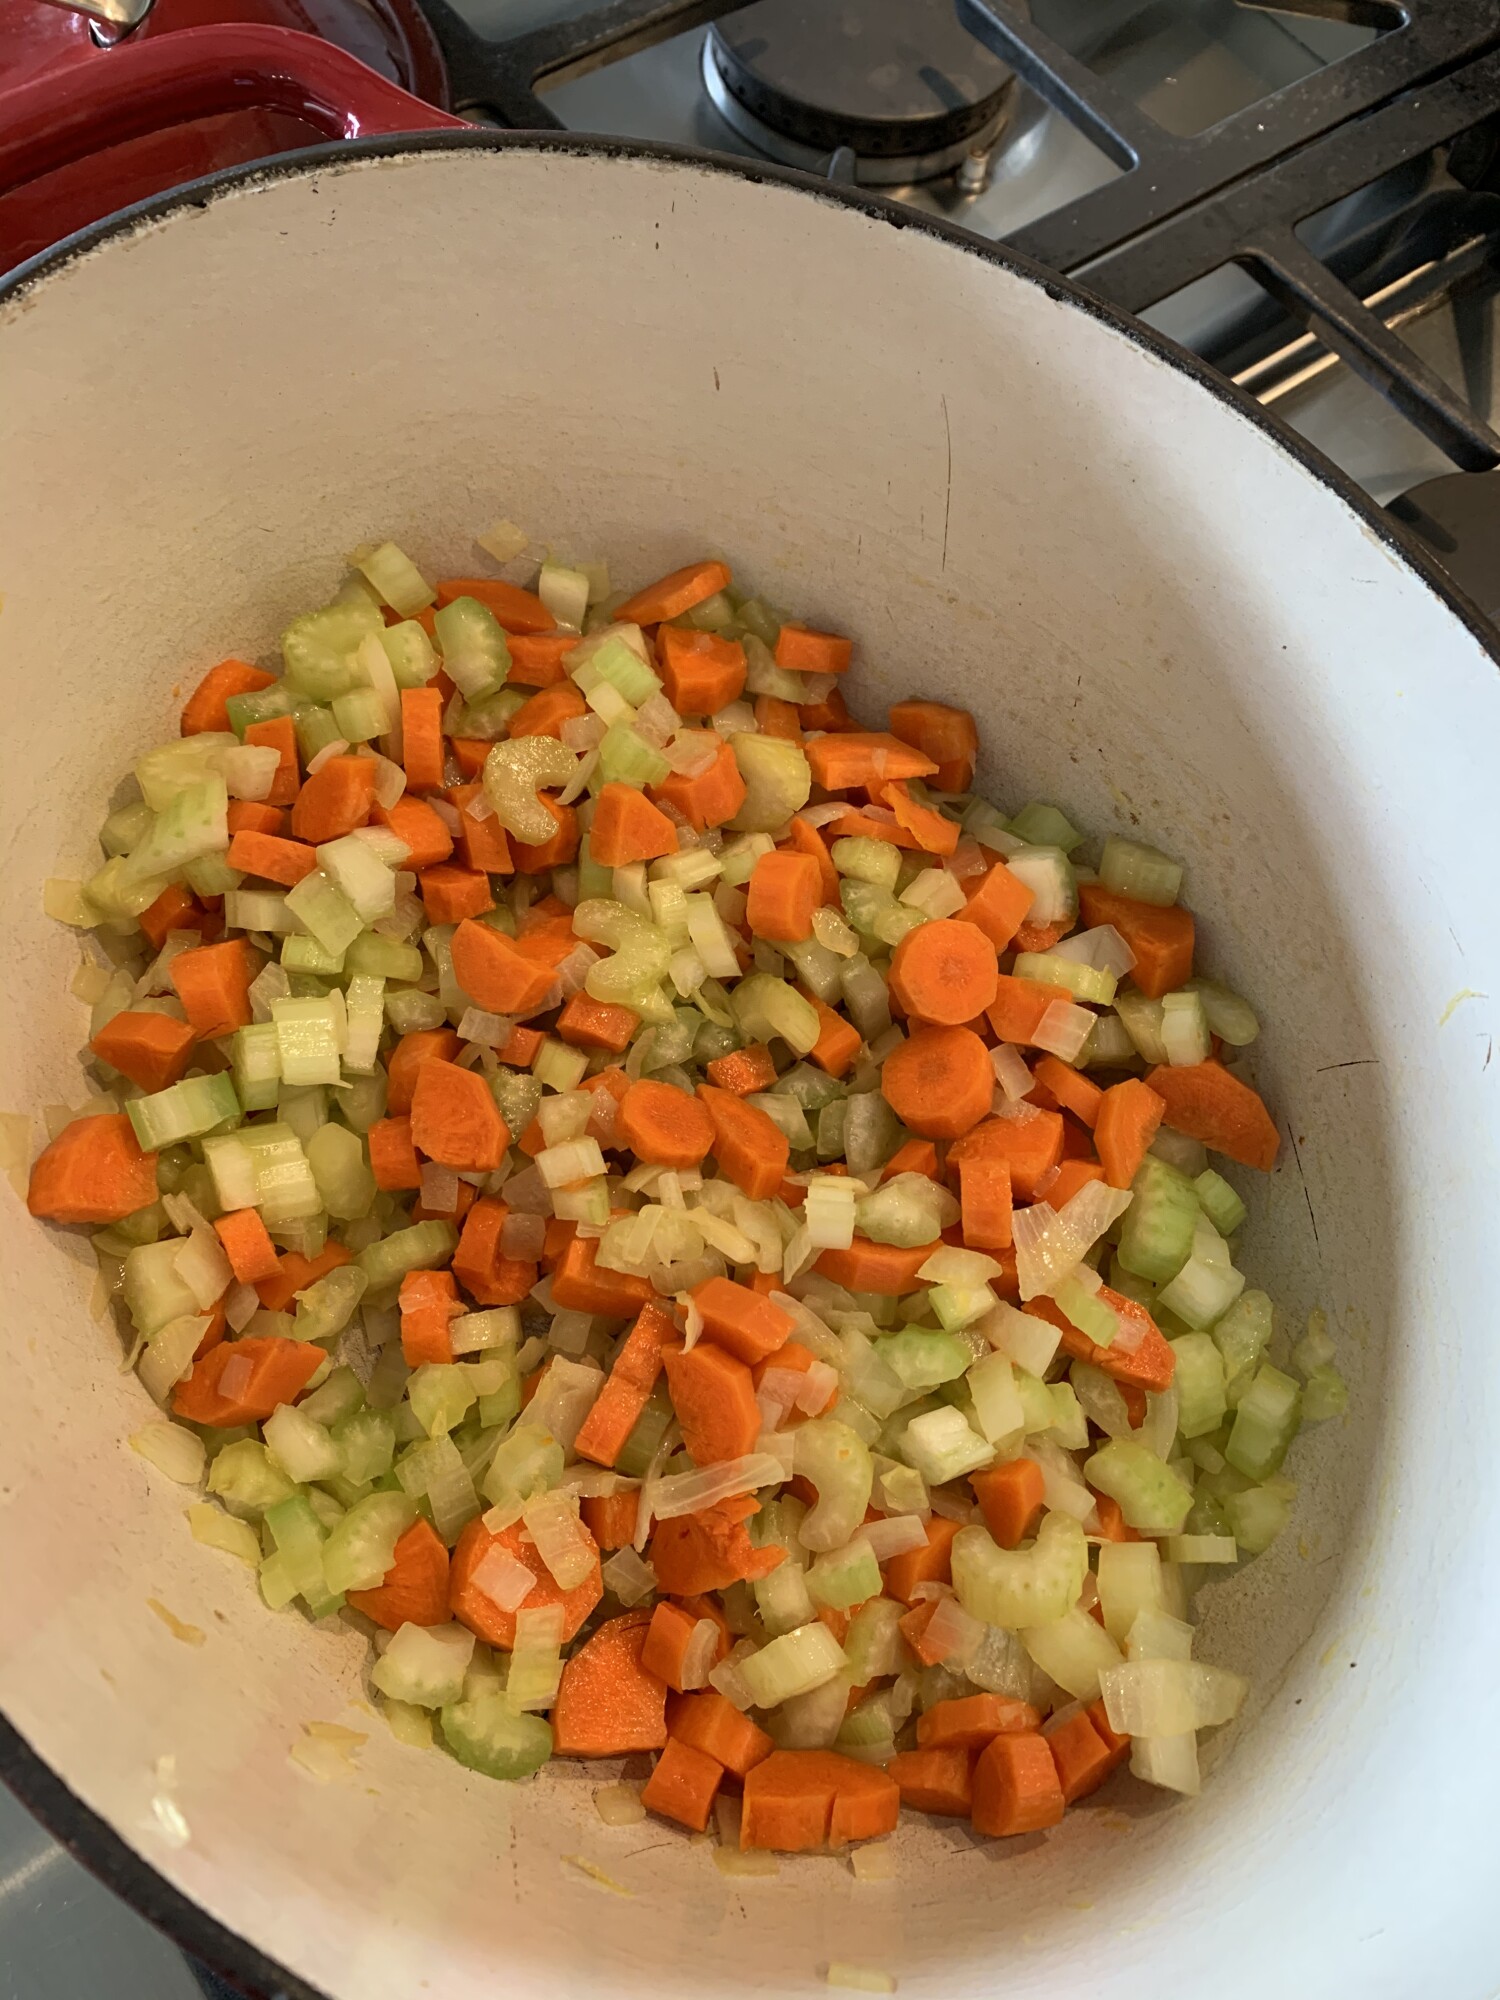
  • Add diced onions, carrots and celery to the pot stirring occasionally until onions are translucent (about 5 minutes)
  • Add minced garlic and stir for about 30 seconds - 1 minute ensuring not to burn garlic
  • Add sprig of thyme (or dried thyme) and 6 cups of vegetable broth, cover with lid and bring to a boil
  • Once broth starts boiling, turn down and simmer for about 8-10 minutes until carrots and celery begin to soften
  • Add broccoli florets and simmer for another 8-10 minutes
  • While soup is simmering, drain and rinse soaked cashews and blend with 1 cup of water in a high speed blender until no lumps remain (NOTE: if you haven't pre-soaked the cashews, place them in a pot with 2 cups of water and boil for 5 minutes.  Then drain and rinse the cashews and blend with one cup of water in a high speed blender until no lumps remain.
  • Once broccoli and vegetables have softened add pureed cashews, nutritional yeast and salt and pepper to taste
  • Mix all ingredients together and remove sprig of thyme
  • Taste and adjust seasonings as desired
  • Serve warm
If soup is too thick, add more water or broth. If soup is too thin, simply continuing simmering until desired liquid evaporates.

This soup keeps well in the fridge for a few days. When reheating soup, if it's too thick, add more water or broth to desired consistency.

Now go enjoy your soup already!


xo, Bonnie

By the way...if you liked this post, click the link below to get access to my FREE Yoga Nidra Guided meditation for relaxation. 


The information presented here is for entertainment and informational purposes only.  The information in this post is subject to interpretation and is an expression of opinion.  It is not intended for, and does not replace professional, medical, legal, business, and/or health related opinions and advice. It is not a substitute for counselling or any other type of therapy, or medical advice from qualified professionals.  

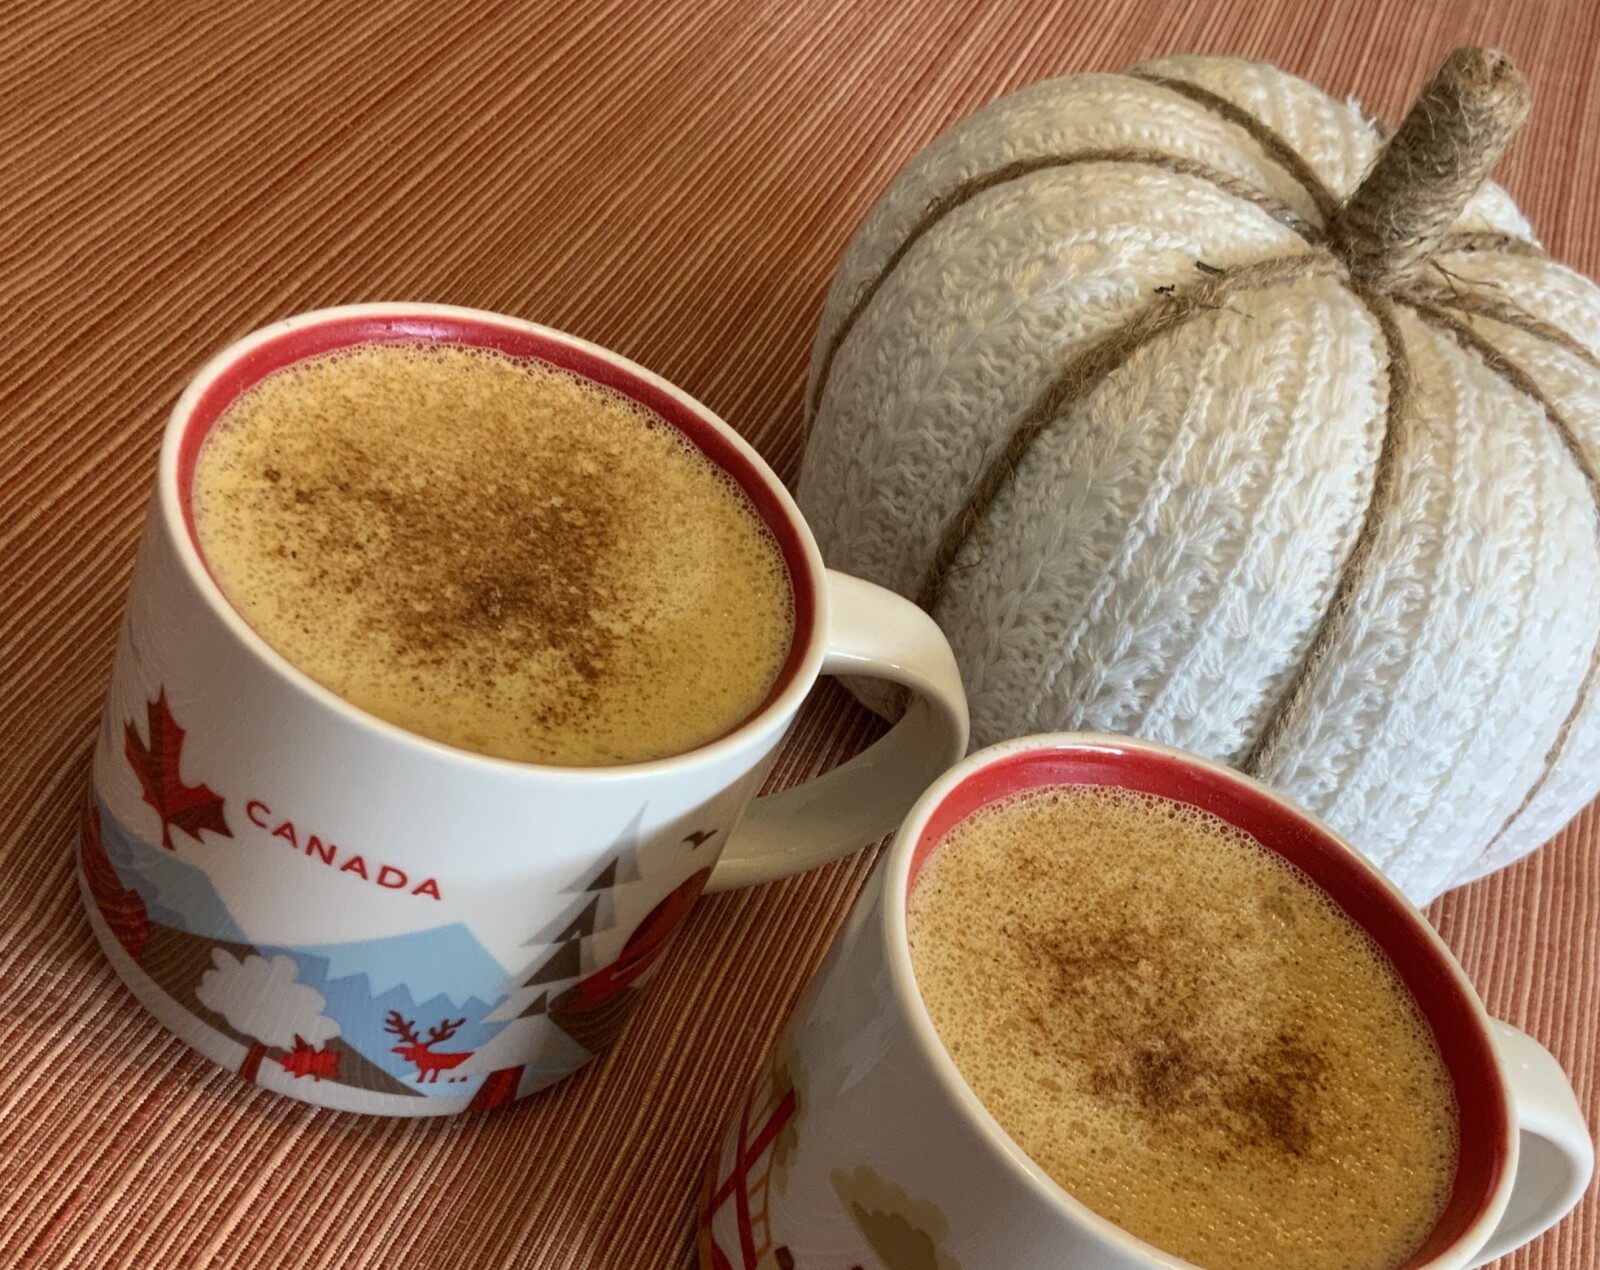
Mocha Pumpkin Spice Latte Recipe ☕️

Mocha Pumpkin Spice Latte Recipe ☕️
I know, I know......it’s all about the PSL. You’re either a fan, or you’re not.  Kinda like cilantro.  You either love it or hate it.  There is no in between.....  I happen to be on the LOVE pumpkin spice latte team!

My only issue is that I really don’t care for the artificial flavours in most pumpkin spice lattes available at our usual coffee stops.  They are too sweet and most actually don’t even have pumpkin....it’s usually just flavoured syrup that gives it the “pumpkin spice” flavour.

So, what’s a girl to do when she wants an authentic pumpkin spice latte made with all natural ingredients?  Well, she makes it herself of course.  And what is better than enjoying a PSL?  Enjoying a mocha pumpkin spice latte!  Who knew the humble pumpkin spice latte could climb to greater heights?  I didn’t think it was possible, but with the addition of a little cocoa, this delicious pick me up gets even better.

My daughter Samantha is also a fan of pumpkin spice (because all of it’s nice).....so she asked me if we could make some lattes and enjoy them together one beautiful fall afternoon.  I couldn’t pass up this opportunity to indulge with my own little pumpkin (or big cause she is taller than me) so we concocted our own and the rest is history.  The addition of cocoa was a test.  She asked me what it would be like to make the latte with chocolate, so I said let’s find out! I must say our little experiment turned out amazingly delicious and it was super easy! I see many, many more of these in our future.


Try this for yourself, you won’t be disappointed!!  And if you’re not a fan of chocolate, just omit the cocoa powder.

As for the milk in this latte, I used my homemade cashew milk.  Click here for the recipe.

You can whisk all these ingredients together while the mixture is on the stove, or once the mixture comes to a boil, you can use a handheld blender to blend it all up and create some froth.

Mocha Pumpkin Spice Latte

Ingredients
  • 2 cups milk (can sub non dairy milk if desired)
  • 1 cup freshly brewed espresso or very strong coffee
  • 3 TBSP of pure pumpkin puree
  • 1 TBSP pure maple syrup
  • 2 tsp cocoa powder
  • 1/2 tsp ground cinnamon
  • 1/4 tsp ground ginger
  • 1/8 tsp ground nutmeg
  • 1/8 tsp ground cloves
Directions
  • Whisk all ingredients in small saucepan over medium heat
  • Once mixture begins to boil, remove from heat 
  • Blend with hand blender to combine and create some froth
  • Pour into two mugs
  • Top with cinnamon
  • Top with whipped cream and caramel sauce if desired
  • Add extra maple syrup for more sweetness if desired
What are you waiting for?  Go make some yummy mocha pumpkin spice lattes.  Oh yeah and this recipe makes 2 servings, but that doesn’t mean you can‘t drink it all yourself.....just sayin’. 😉

xo,
Bonnie

By the way...if you liked this post, click the link below to get access to my FREE Yoga Nidra Guided meditation for relaxation. 


The information presented here is for entertainment and informational purposes only.  The information in this post is subject to interpretation and is an expression of opinion.  It is not intended for, and does not replace professional, medical, legal, business, and/or health related opinions and advice. It is not a substitute for counselling or any other type of therapy, or medical advice from qualified professionals.  

Cashew Milk Recipe

Cashew Milk Recipe

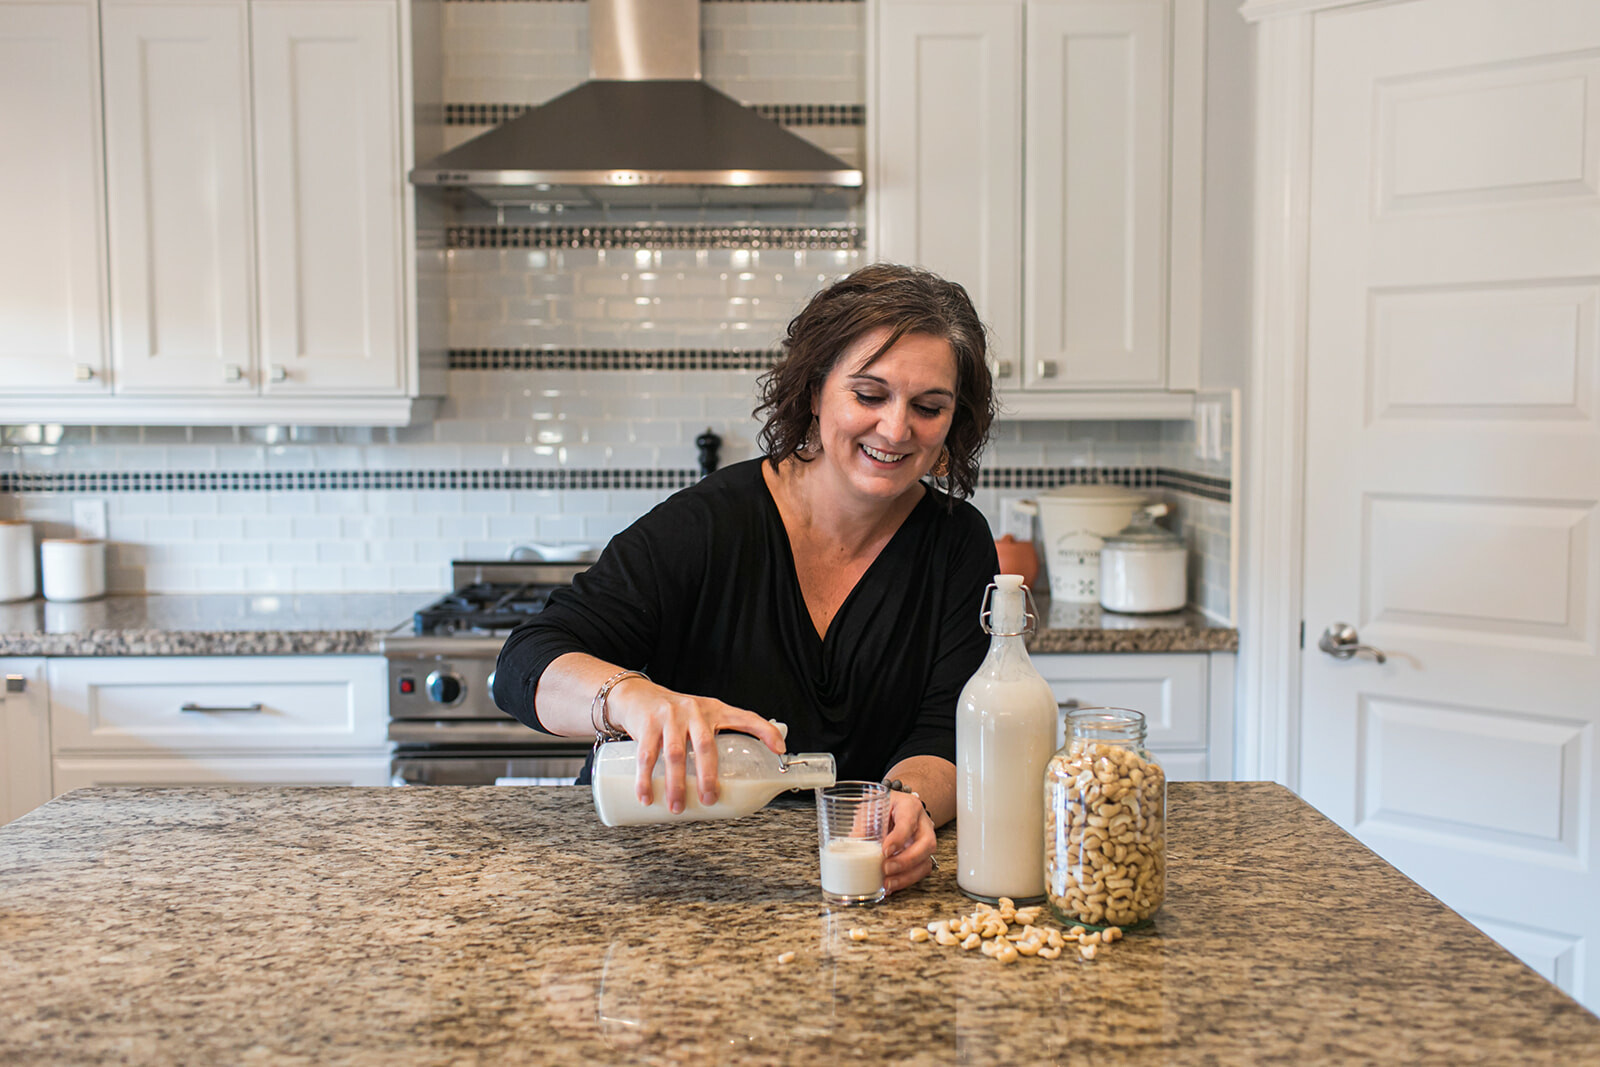
If you're like me and your tummy can't tolerate cow's milk, then this recipe is a must have in your fridge!  This is so easy to make and it's delicious beyond compare.  Even my picky daughter Samantha won't argue with me when I'm using cashew milk for recipes.  And she'll even have it with her cereal!


This milk will only last a few days in the fridge so I make it often so it's fresh.  And I even make some batches on the fly if I've run out and don't have any already made.  It's not a fussy recipe and if your'e in a pinch, no need to soak the cashews ahead of time.


I love this recipe because you don't have to strain it!!  Whatttt?? Yep, all you nut milk lovers out there know what I'm talking about. It's great to make nut milks, but straining it can be a pain. Luckily, this recipe doesn't require any straining, so no more complaining that you can't make your own nut milk, ok???


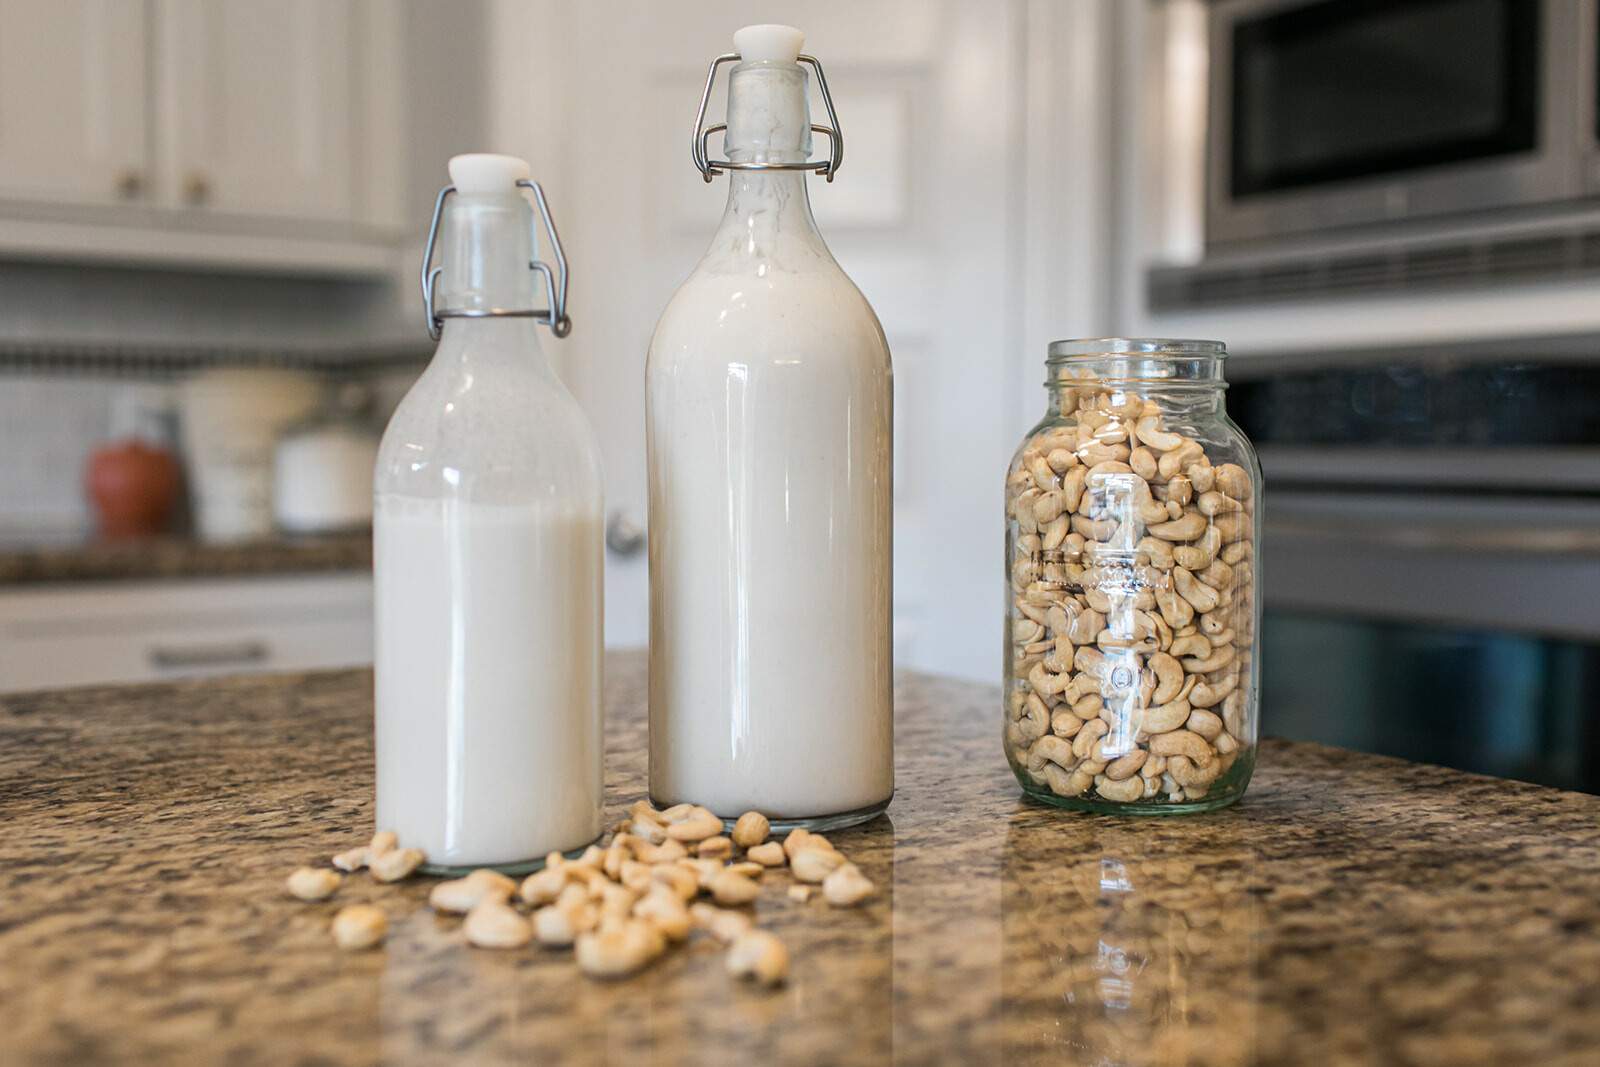
You can use any glass bottles for the finished product. I like to use empty kombucha bottles (I may or may not have an obsession with kombucha), or mason jars can do the trick as well.  If you're fancy, you can buy some glass bottles with snappy lids from IKEA or your local dollar store. 


Ingredients
  • 1 cup of raw unsalted cashews 
  • 5 cups of filtered water 
  • pinch of sea salt
  • 1 medjool date (optional) - can sub 1 TBSP maple syrup or honey
  • 2-3 glass jars
Instructions
  1. Measure 1 cup of raw unsalted cashews into a glass bowl and cover with about two cups of water.  Let sit for approximately three hours.
  2. Drain and rinse cashews and place in a high-speed blender with 1 cup of water and 1 medjool date.  Note, if using maple syrup or honey, add at this point.
  3. Blend at high speed until the cashews are smooth and creamy and no lumps remain.
  4. Add 4 more cups of water, and pinch of sea salt.
  5. Blend again at high speed until the milk is perfectly smooth.
  6. Pour into glass jars and refrigerate.
  7. Will keep for about 4-6 days in fridge. Make sure to shake before using.
Healthy cooking is a passion of mine. I take pride knowing I made something that nourishes me and my family and the best part....it's loaded with high doses of love.  I hope you and your family love this recipe as much as we do!

xo,
Bonnie

By the way...if you liked this post, click the link below to get access to my FREE Yoga Nidra Guided meditation for relaxation. 


The information presented here is for entertainment and informational purposes only.  The information in this post is subject to interpretation and is an expression of opinion.  It is not intended for, and does not replace professional, medical, legal, business, and/or health related opinions and advice. It is not a substitute for counselling or any other type of therapy, or medical advice from qualified professionals.  

The BEST Banana Gluten Free Pancakes

The BEST Banana Gluten Free Pancakes
The BEST Banana Gluten Free Pancake Recipe
Breakfast is seriously my favourite meal of the day. I'm not sure why....maybe it's because I'm a morning person, or the fact that I'm always hungry and after not eating for like 12 hours gets me kinda hangry in the morning..... Whatever it may be, I LOVE my breakfasts!

Which brings me to the all star pancake. Pancakes hold a special place in my heart.  My mom absolutely loves pancakes and we used to make them together when I was growing up. I'm actually surprised I still love pancakes as much as I do because my mom's version always had bran in them (yep, they did...) and she notoriously over cooked them.  But maybe it's the time we spent cooking together that keeps the memories so enjoyable.  And now for the bit or irony, my mom uses my pancake recipe now - and no more bran to be found in the batter!

Being gluten free isn't always easy when you're trying to feed a family of non-gluten free people. Pancakes are no exception.  I used to make two separate pancake recipes - one for me and one for my family.  And then I had an epiphany.  Since I'm the only one who cooks, they have no choice but to eat what I'm making...and so the story goes.  They now eat my gluten free pancakes a few times a week and they are filled with protein and fruit, so I feel good knowing they are getting a diverse range of nutrients!  Having a lot of banana in the recipe kind of distracts from the gluten free taste side effect - you know what I'm talking about!  I also cheat a little and add a chopped up (gluten free) chocolate sandwich cookie to their pancakes and voila - cookies and cream gluten free pancakes.....who can say no to that?

I hope you love this recipe as much as me and my family do!

Serves 4

Ingredients
  • 4 ripe bananas
  • 4 eggs
  • 1 TBSP maple syrup
  • 1 TBSP baking powder
  • 1 cup gluten free flour blend of your choice (if you're not gluten free, you can use all purpose flour)
  • pinch of salt
  • butter for greasing pan
Instructions
Mix all ingredients, except flour in a blender until smooth.  
Pour wet ingredients into a large mixing bowl.
Add flour and whisk until no lumps remain.  
Butter non stick pan or griddle and measure 1/4 cup of batter per pancake.
Cook on medium to low heat.
Gently flip when pancakes have small bubbles forming on top.  Note: These are very fragile pancakes when flipping.  Be gentle and I promise you'll get your grove on in no time when it comes to flipping these babies.  Patience and experience will be your friend.
Cook for a couple of more minutes until pancake is cooked through.
Enjoy!

Don't forget you can add endless options for toppings, or mix into the batter.  I always cook one cup of frozen wild blueberries and add to my stack of pancakes along with hemp hearts. You could also try adding chocolate chips to the batter.  The possibilities are endless!


xo,
Bonnie

By the way...if you liked this post, click the link below to get access to my FREE Yoga Nidra Guided meditation for relaxation. 


The information presented here is for entertainment and informational purposes only.  The information in this post is subject to interpretation and is an expression of opinion.  It is not intended for, and does not replace professional, medical, legal, business, and/or health related opinions and advice. It is not a substitute for counselling or any other type of therapy, or medical advice from qualified professionals.  
 
Read Newer Updates